Why record on location
Part 1 of 7 of the free podcast and video shoots guide from The Gallery on Montana. Why a real room beats a foam-panel studio for a video podcast, how to scout one by ear, and the sound tradeoff to plan first. Part 1 of our San Antonio podcast course.
Book a tour · 701 Montana St, San Antonio, TX 78203
A set viewers remember
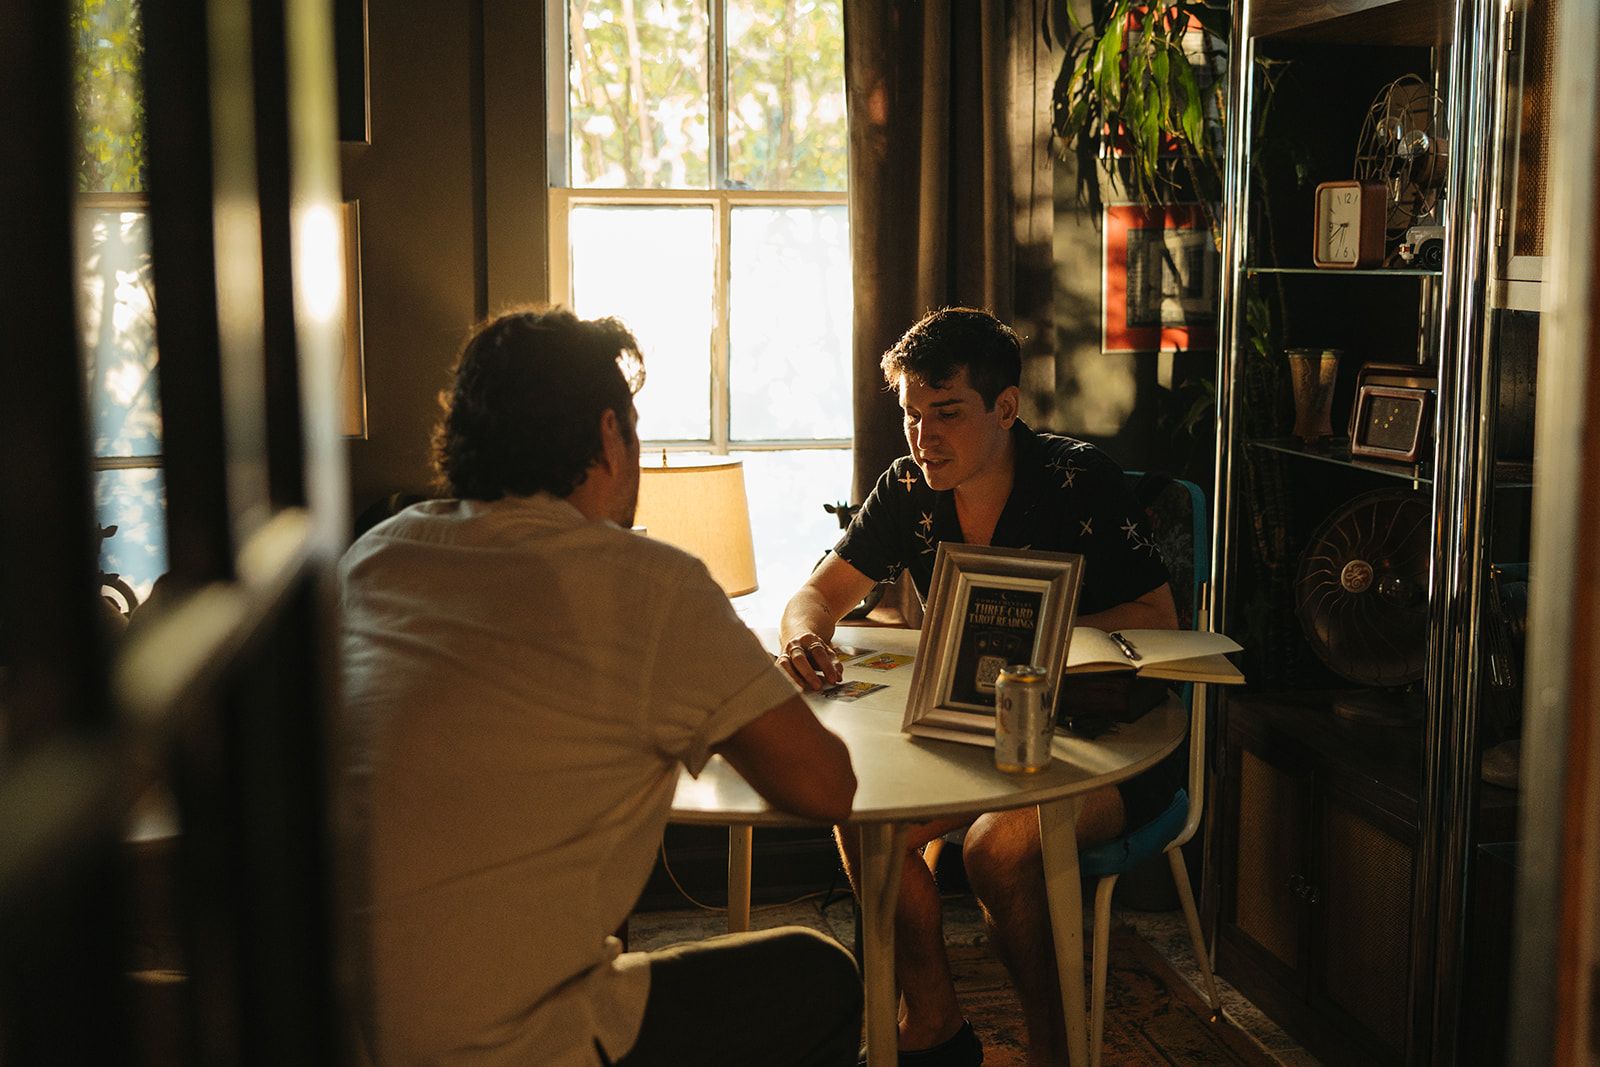
A foam-panel studio sounds fine but looks like every other show. A real room with shelves, art and lamps gives your episode a set people recognize, and it makes your thumbnails and clips stand out in a crowded feed. On a phone screen, a viewer decides in about a second whether a clip looks worth watching, and a warm, layered background does a lot of that work for you.
- A recognizable set builds a show identity across episodes.
- Real depth behind each guest looks expensive even on a phone camera.
- Lamps and props in frame give you free b-roll and cutaways.
- One room can give you three or four distinct looks.
Guests talk better in a room
People talk more naturally in a living room than in front of a backdrop and a wall of lights. That means longer stories, more laughter and fewer stiff, rehearsed answers. First time guests in particular relax when the space feels like somewhere you would actually sit and talk.
- Seat guests in real chairs, not stools, so they settle in.
- Keep crew and monitors out of the guest's eyeline.
- Start rolling a few minutes before the official start; the warm up is often gold.
- Offer water and a few minutes in the room before the first question.
Studio vs location, honestly
Location is not automatically better. A treated studio is quieter and faster to set up. A location gives you a look and a mood a studio cannot. Know what you are trading before you book.
| Foam-panel studio | Location room | |
|---|---|---|
| Sound | Quiet and treated | Needs planning: echo, AC, street |
| Look | Generic, often the same set as other shows | Distinct, layered, ownable |
| Setup time | 15 to 30 minutes | 45 to 60 minutes |
| Guest comfort | Can feel clinical | Feels like a conversation |
| Variety | One backdrop | Several sets in one booking |
What a good room has
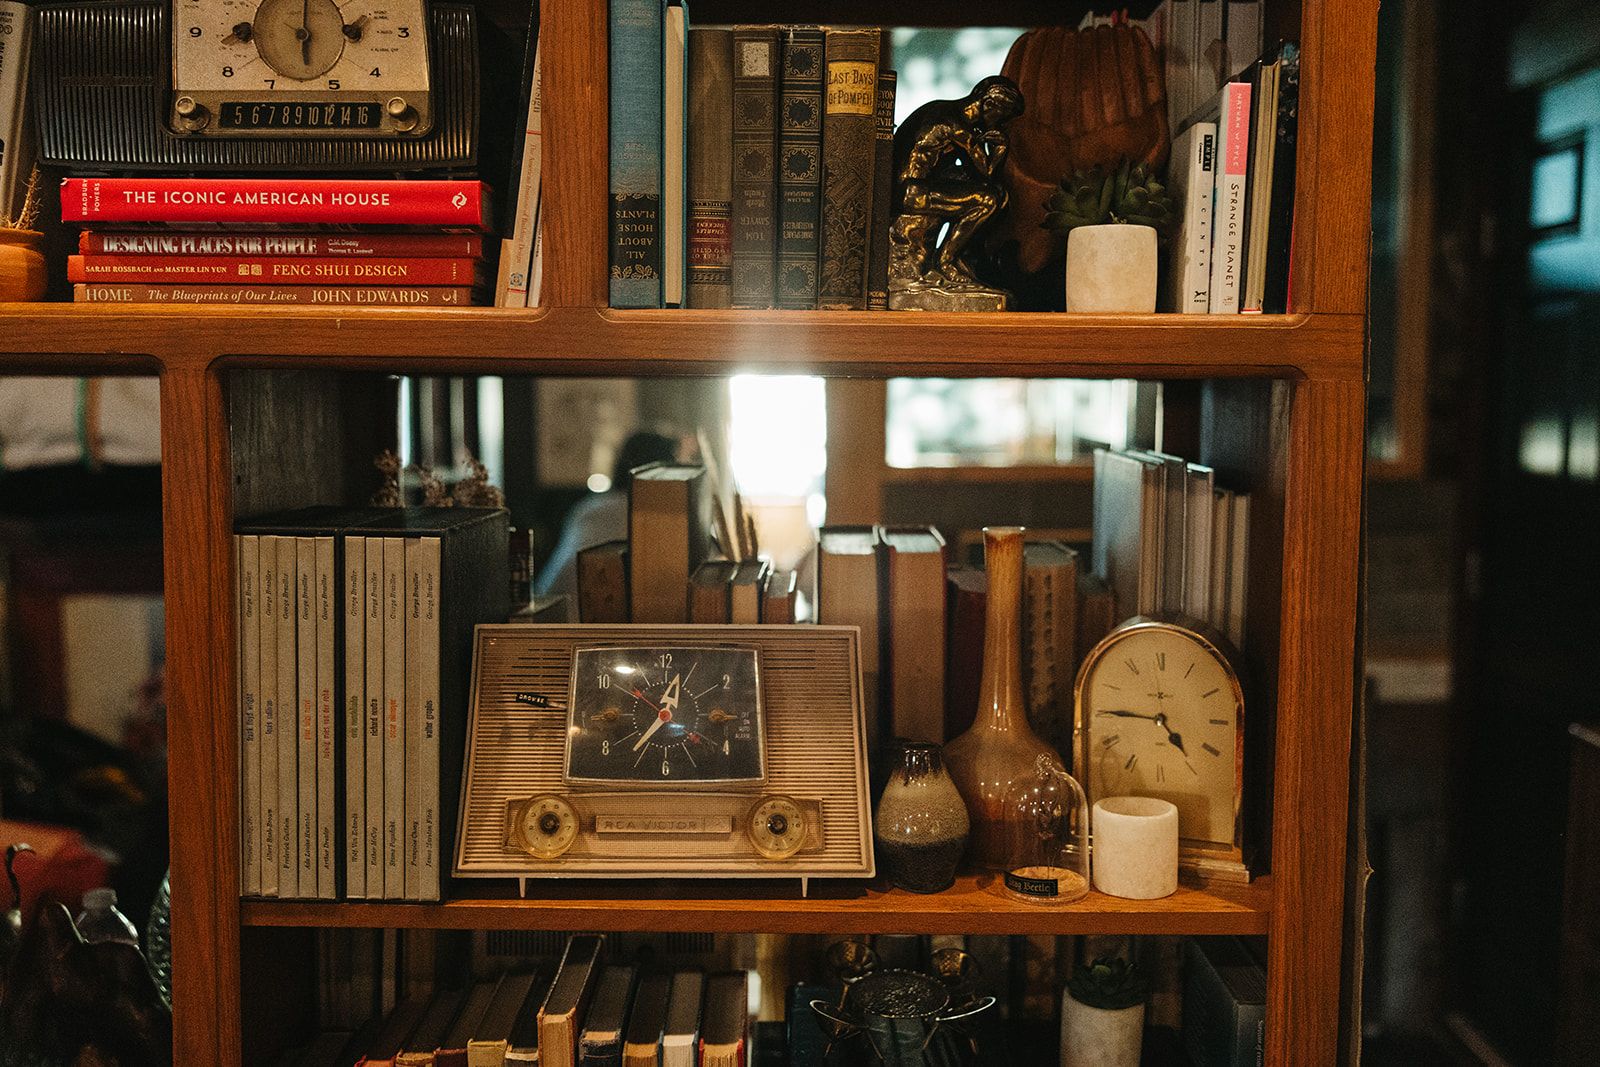
- Soft surfaces: rugs, books and upholstered chairs that soak up echo.
- Depth: shelves or art 6 to 10 feet behind each seat so the background falls soft.
- Warm practical lamps you can keep on in frame.
- A second corner for intros, pickups and solo clips.
- Enough floor space for a camera 6 to 8 feet from each seat.
Scout the room by ear
Houses have echo, street noise and air conditioning, so you pick the room by how it sounds, not only how it looks. Do this on a tour or from a short scouting visit before you book.
- Clap once in each corner. A sharp ring or flutter means hard surfaces; a dull clap means you are in good shape.
- Stand silent for 30 seconds and list every sound: traffic, fridge, fans, birds, neighbors.
- Record 30 seconds on your phone and listen back on headphones. Phones hear more than you do.
- Find the thermostat and any ceiling fans and ask if they can be off during takes.
Scout the light too
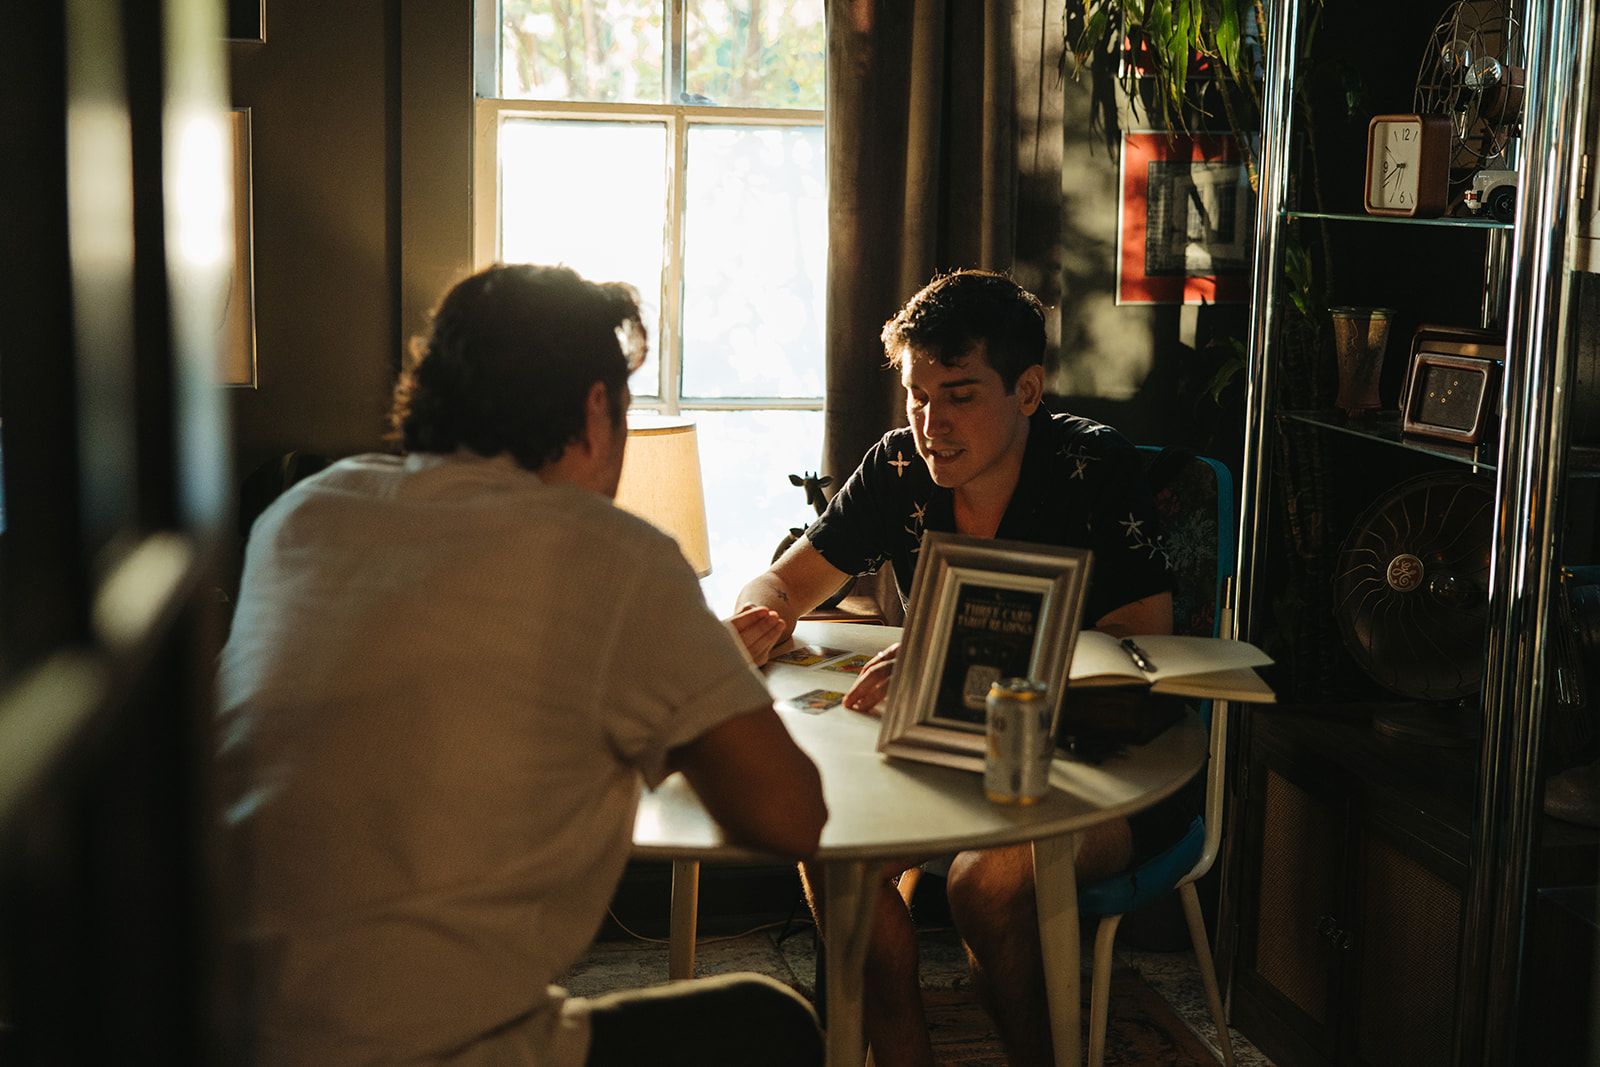
Windows are a gift and a problem. Soft daylight on a face looks beautiful, but the sun moves, and a window behind a guest turns them into a silhouette. Note which way the windows face and what time of day you will record.
- Side window light on a face: great, plan to add a matching key light.
- Window behind a guest: block it or turn the seat.
- Direct sun on the floor in frame: it will crawl across the shot during a long episode.
- Photograph each set from camera position so your crew can plan the angles.
The tradeoff: sound comes first
Everything else in this course follows from one rule: plan audio before anything else. A great looking room with a loud AC is a bad room for a podcast. A slightly plainer corner that sounds dead and quiet is a good one. The rest of this course shows you how to get both: Part 2 covers mics, cameras and light, Part 3 the budget, Part 4 the planning, Part 5 the day itself, Part 6 the mistakes and Part 7 how it all works at The Gallery.
Tip: Audio wins every time. Viewers forgive a soft picture, but they click away from bad audio in seconds. When you have to choose, choose the better sounding corner.
If you also shoot stills for your brand, the brand photoshoot guide pairs well with this course.