Your eight week plan
Part 3 of 7 of the free pop-up markets and makers sales guide from The Gallery on Montana. An eight week organizer checklist for a San Antonio pop-up market: when to book, open applications, collect fees, draw the booth map and send final details.
Book a tour · 701 Montana St, San Antonio, TX 78203
Give yourself eight weeks for a first market. Vendors need time to apply, plan inventory and promote to their own followers, and you need about a month of steady posting to build a crowd. Rushed markets usually fail on promotion, not on vendors.
Best seasons in San Antonio
Spring and fall are the best market seasons and also the busiest. Book early for October, November and early December. Avoid Fiesta weekends in April unless your market is built around it, and plan summer markets as early morning events that finish before the worst heat.
The eight week checklist
Pop-up organizer checklist
8 weeks out
- Pick the date and the theme (vintage, makers, holiday)
- Book the space
- Write a vendor sheet: booth size, fee, what they bring, load in time
- Open vendor applications
4 to 6 weeks out
- Accept vendors and collect fees
- Draw a booth map
- Design a flyer and share a vendor social kit
- Line up a food truck or coffee vendor
1 week out
- Send vendors the final map and arrival times
- Post vendor spotlights daily
- Prep signage and a welcome table
Market day
- Walk the booth map with tape before vendors arrive
- Check in each vendor
- Post live stories during the market
- Thank vendors and ask what to improve
Week by week
| When | What gets done |
|---|---|
| 8 weeks out | Date, theme, space booked, vendor sheet written, applications open |
| 6 weeks out | First wave of vendors accepted and announced |
| 5 weeks out | Applications close, fees collected, food or coffee vendor confirmed |
| 4 weeks out | Booth map drawn, flyer designed, social kit sent |
| 2 weeks out | Full vendor list posted, signage ordered |
| 1 week out | Final map, arrival times and parking notes sent |
| Day before | Supplies packed, reminder posted |
Write the vendor sheet once
The vendor sheet is the most important document on that list. Send the same one to every applicant, and point back to it whenever a question comes in. It should cover:
- Booth size and fee, and what premium spots cost.
- What vendors must bring, including tent weights.
- Load in and pack out times.
- The rain plan and refund policy.
- Your rules on what can and cannot be sold, including the venue's rules.
- How you will promote, and what you expect vendors to post.
Run a fair application
Use a simple application form that asks for three to five product photos, a photo of a past booth setup, price range, social handle and whether they have a sales tax permit. A strong-looking booth sells more and makes the whole market look better in photos. Review applications against your category slots, not in the order they arrive.
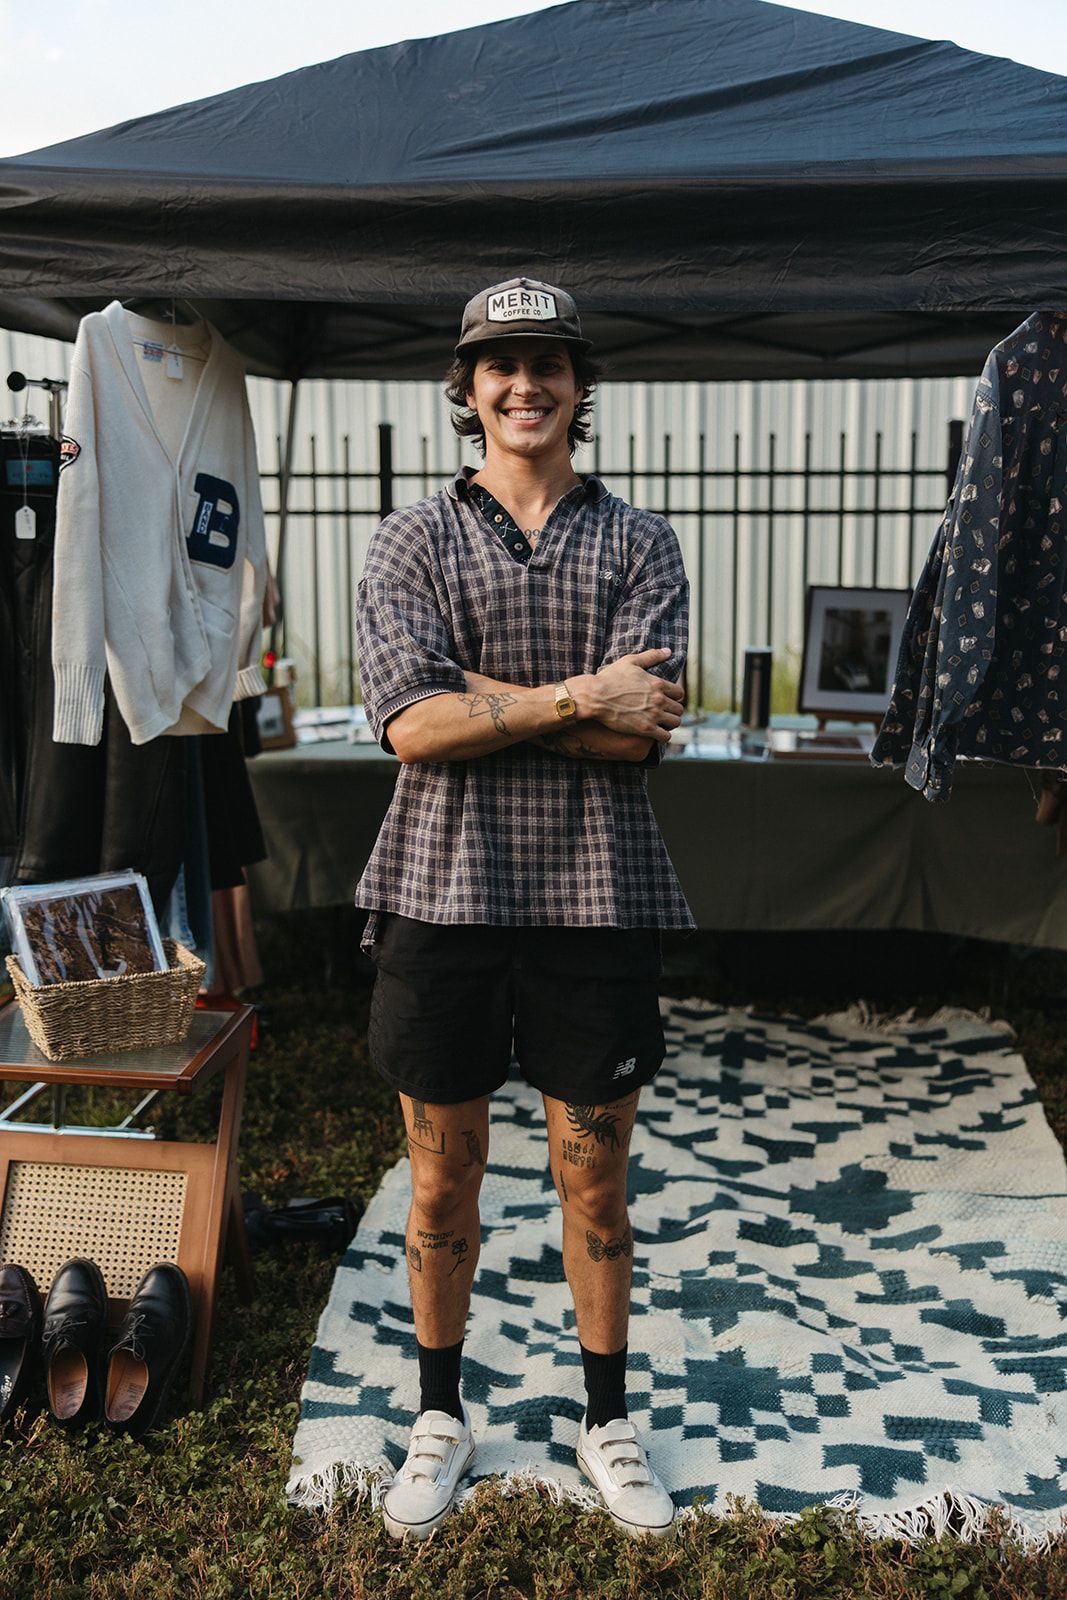
Tip: Accept vendors in waves. Accept your strongest vendors first and announce them right away. Early names help fill the remaining spots.
Draw the booth map
Four to six weeks out, draw the booth map. Give every vendor a numbered spot, mark where the food vendor parks and leave clear walking lanes between rows. A standard tent is 10 by 10 feet, and a comfortable walking lane is 8 to 10 feet wide so strollers and wheelchairs can pass two people browsing.
- Put a strong, colorful booth at the entrance to pull people in.
- Spread similar vendors apart so they do not compete side by side.
- Place the food vendor at the far end so shoppers walk past every booth.
- Mark trash cans, the welcome table and any shade spots.
Do the space math before you promise booths. A 10 by 10 tent needs about 100 square feet, plus its share of the walking lane, so plan roughly 150 to 200 square feet per outdoor booth. Measure the area on your tour, sketch it on paper or in a free drawing app, and leave one spare spot for the vendor who shows up with a bigger tent than they said. Mark north on the map too, so you know which booths get afternoon sun and can offer shade spots to vendors selling candles, chocolate or anything that melts.
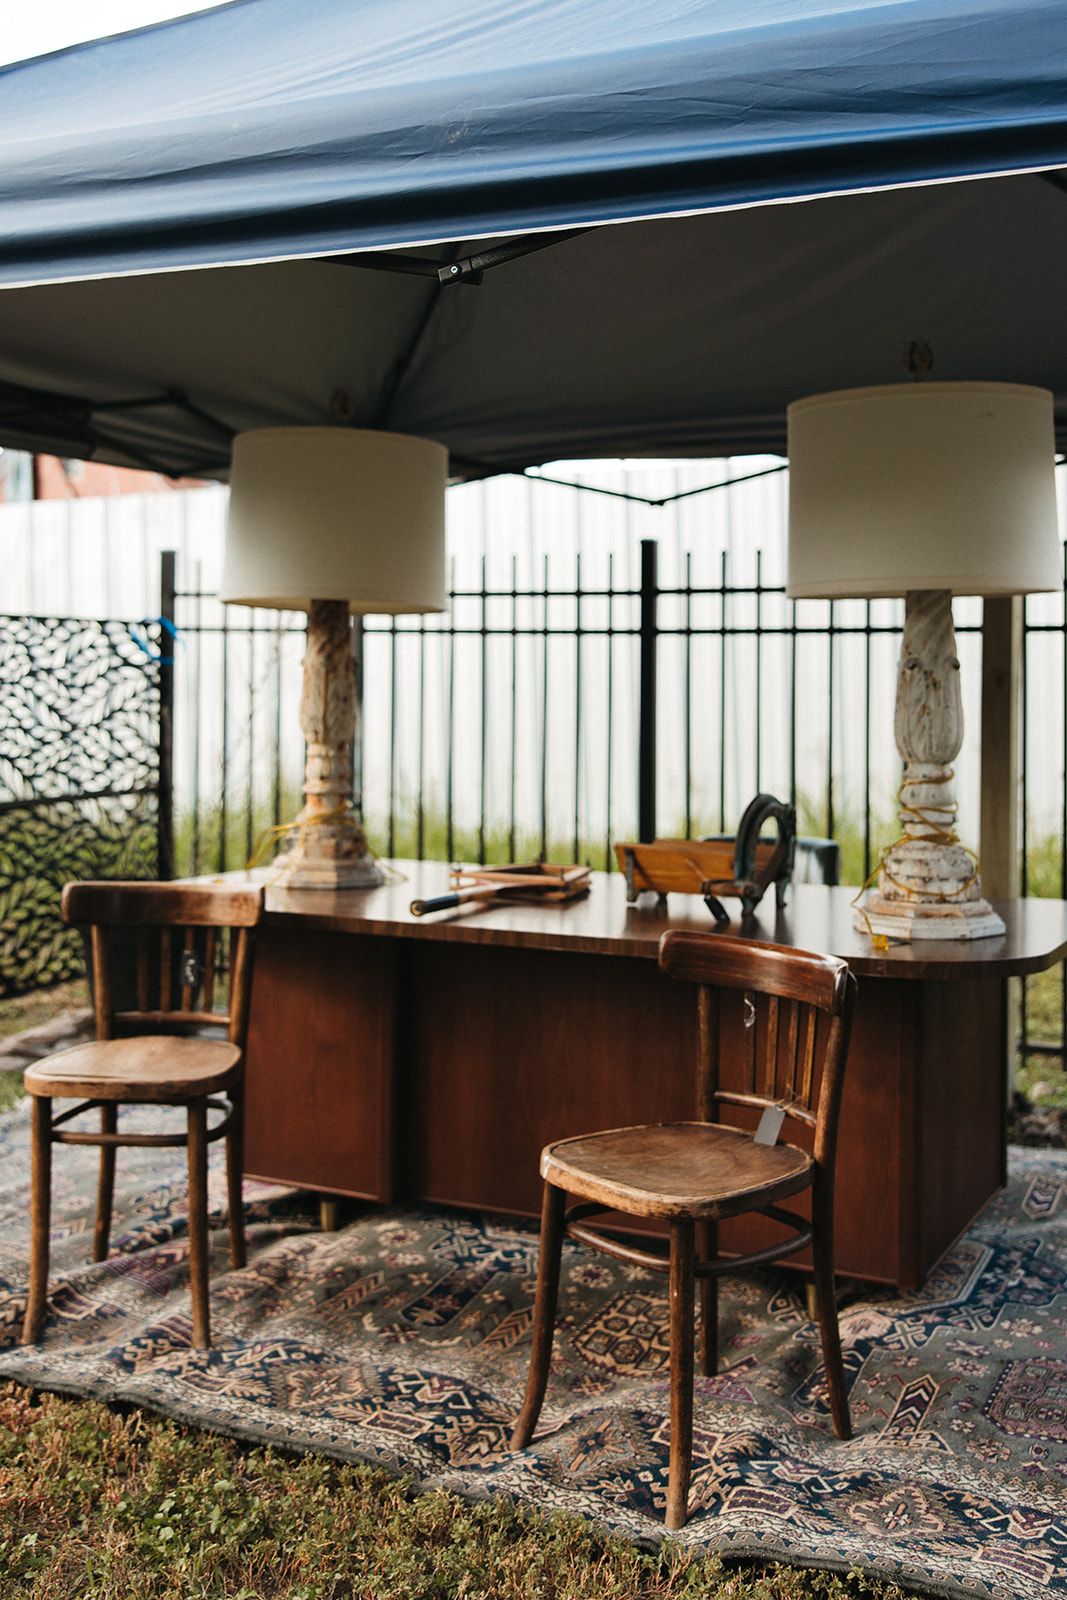
The final week message
Send one clear email in the last week, not five scattered texts. Include the booth map with each vendor's number, their arrival window, where to unload, where to park after unloading, the rain call deadline and your phone number. Ask every vendor to reply to confirm. Anyone who does not reply by two days out gets a call.
Make the rain call early
Pick a decision time, such as 6 PM the night before, and stick to it. Check the forecast that afternoon, decide, and message every vendor at once. A late, unclear call costs you more goodwill than the rain.
Have a plan for each outcome. If you go ahead in light rain, tell vendors to bring tent sidewalls and plastic bins. If you move the date, give the new date in the same message and ask vendors to confirm within 24 hours. If you cancel, follow the rain policy in your vendor sheet exactly, with no exceptions, so every vendor is treated the same. Keep a short template message ready for each case so the call takes minutes, not an evening of texting.
Previous: Costs and vendor fees · Course overview · Next: Getting shoppers there