The class itself
Part 5 of 7 of the free workshops and classes guide from The Gallery on Montana. A sample 3 hour workshop agenda inside a 4 hour booking: setup, a short demo, two hands-on blocks, a photo break and a wrap that sells your next date.
Book a tour · 701 Montana St, San Antonio, TX 78203
The shape of the day
This agenda fits inside a 4 hour booking, with 45 minutes to set up and 15 to pack out. Keep the demo short. Students came to make something, and attention drops after about 20 minutes of watching.
Sample 3 hour workshop agenda (4 hour booking)
- 0:00: Host setup at the communal table.
- 0:45: Doors open, name tags, snacks.
- 1:00: Welcome and demo, 20 minutes.
- 1:20: Hands on, part one.
- 2:10: Break and photos.
- 2:25: Hands on, part two.
- 3:30: Share and wrap, announce the next date.
- 3:45: Pack out.
Before doors open
- Arrive at the start of your booking, not just before doors.
- Set every seat, then the demo spot and the check-in table.
- Put on music at a low volume.
- Do a final walk: restroom stocked, trash bags out, drinks set.
- Take a photo of the empty set room for your next promo.
Keep your own kit small and close: water, your notes, a phone timer and a spare of every tool. Set a timer for each block so you know when to move on without checking the clock in front of the class.
The welcome
Open with five minutes, not fifteen. Say your name, the promise, the plan for the day, where the restroom is and when the break happens. Then ask everyone to share their name and why they came. That small round makes strangers comfortable and tells you who needs extra help.
Keep the agenda on a printed card at each seat or on a small sign. When students know the break is at a set time, they stop wondering and start working.
The demo
Show the full process once, start to finish, in under 20 minutes. Then break it into steps on printed cards so students can follow at their own pace. If a step is tricky, demo it again at the table when people reach it rather than front-loading everything.
Tip: Teach at the table. Do a short demo, then teach the rest one seat at a time. People learn more from a tip over their shoulder than from a long talk.
- Show the finished sample first so students know where they are headed.
- Narrate the why, not only the how: why this brush, why this order.
- Point out the one mistake almost everyone makes at this step.
- Leave the sample out on the table for students to check against.
While you teach
- Walk the room during hands-on blocks and check in with every student at least twice.
- Start with the quiet ones. They are the most likely to be stuck and the least likely to ask.
- Use the break for photos; students love sharing work in progress.
- Announce the next class during the wrap, while people are proud of what they made.
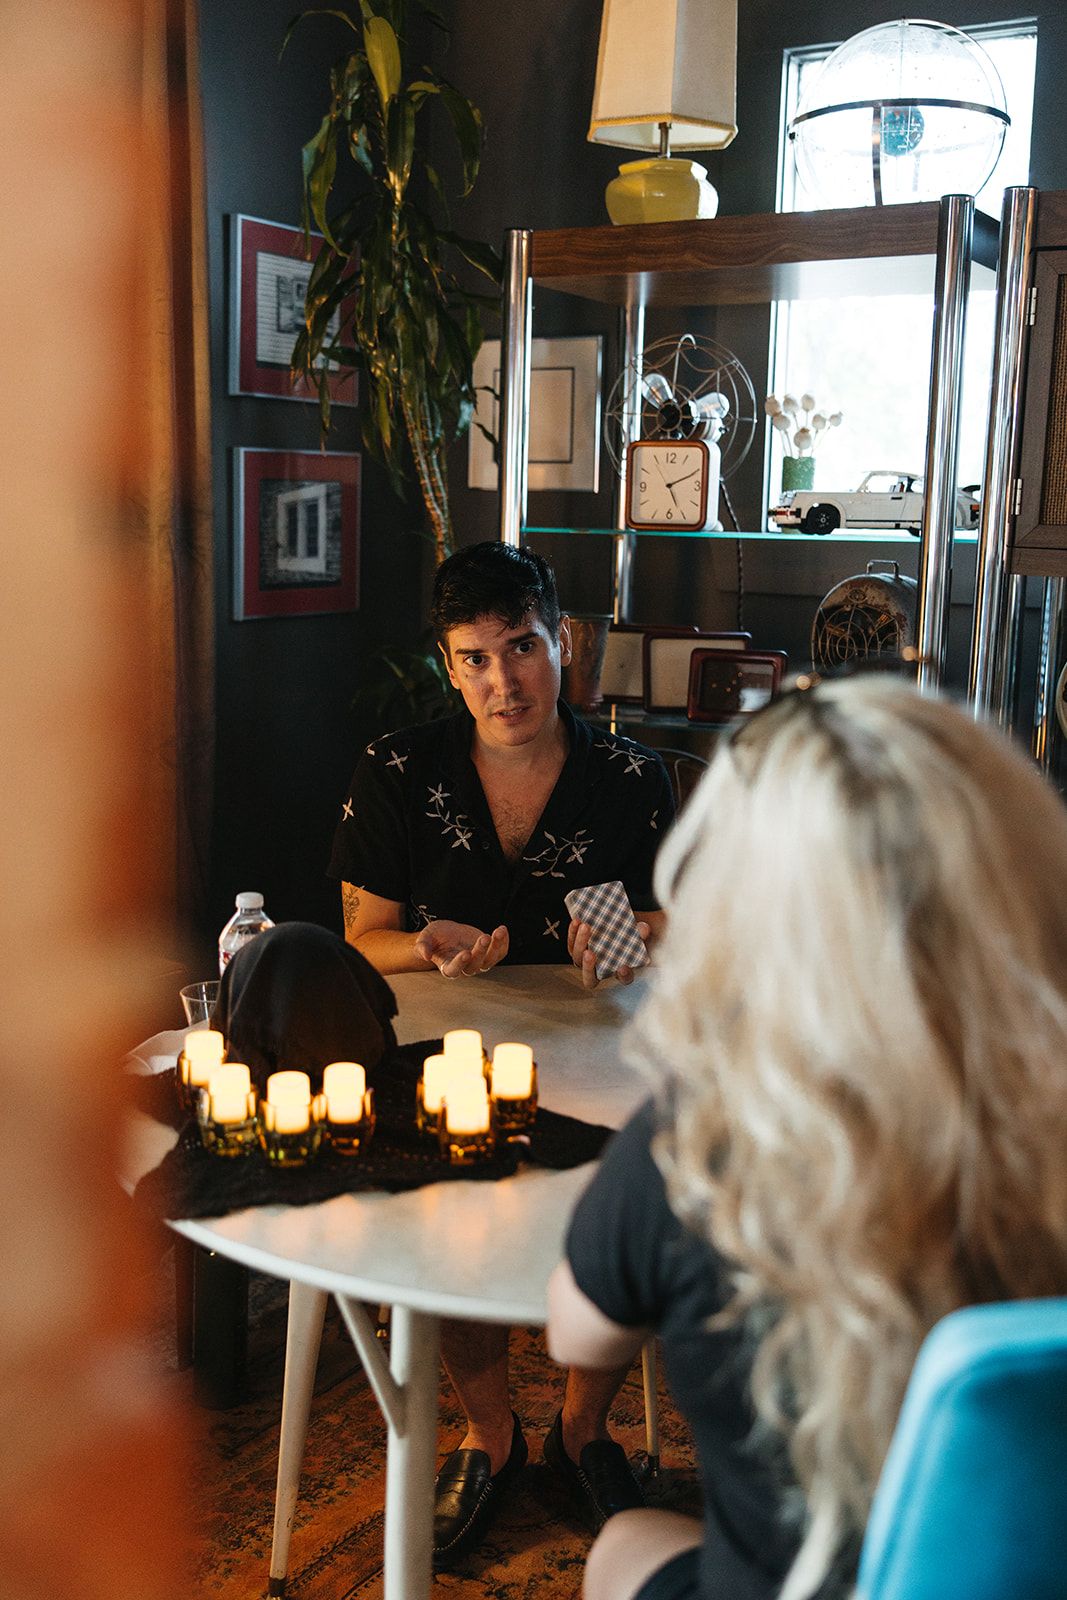
Praise specific choices, such as a color mix or a clean line, rather than saying "looks great" to everyone. Specific praise feels earned, and it tells the rest of the table what good looks like.
When things go wrong
- A student falls behind: give them the next step card and check back in five minutes.
- A supply runs short: pull from the spare kits, then pair people to share.
- The demo runs long: cut the second example, not the hands-on time.
- A latecomer arrives: seat them, hand them the step cards and catch them up at the break.
Stay calm and keep the room moving. Students take their cue from you. If you treat a spill or a broken tool as a small thing, so will they, and the class keeps its energy.
The wrap
Save the last 15 minutes. Have everyone hold up their finished piece for a group photo, thank them, and share the next date with a returning student discount that ends in a week. Hand out a card or a QR code to the ticket page so the offer is one tap away.
- Group photo with every finished piece.
- Thank people by name if you can.
- Share the next date and the returning student offer.
- Remind them how to care for or finish their piece at home.
After they leave
Send photos and a short feedback form within 48 hours. Ask three questions: the best part, what you would change, and what they would take next. The third answer tells you which class to build after this one.
Pack out gives you a few quiet minutes to note what ran long and what ran short. Write it down while it is fresh; it is the easiest way to make the second class smoother than the first. Offer the next date to that email list first. Many hosts fill half of a second class from returning students, and private groups planning a shower often want a hands-on activity too.
Previous: Supplies and setup · Course overview · Next: Mistakes to avoid