Supplies and setup
Part 4 of 7 of the free workshops and classes guide from The Gallery on Montana. How to set every seat before doors open: supplies, table protection, check-in, cleanup and non-alcoholic drinks, plus what to tell your photographer.
Book a tour · 701 Montana St, San Antonio, TX 78203
Set every seat the same
Set each place before doors open. Then sit in two or three seats and check that everyone can see the demo and reach what they need. A ready place setting makes the class feel professional from the first minute, and it saves you ten minutes of handing things out.
What to bring
- Supplies pre-portioned into trays or bags per seat, plus a shared station for extras.
- Kraft paper or drop cloths for paint, clay, ink or anything messy.
- Paper towels, wipes, trash bags and a bin for wet items.
- A demo spot everyone can see and printed step cards.
- Name tags, a sign in list with emails and a photo consent clipboard.
- A small first aid kit, extra aprons and tape to label wet pieces.
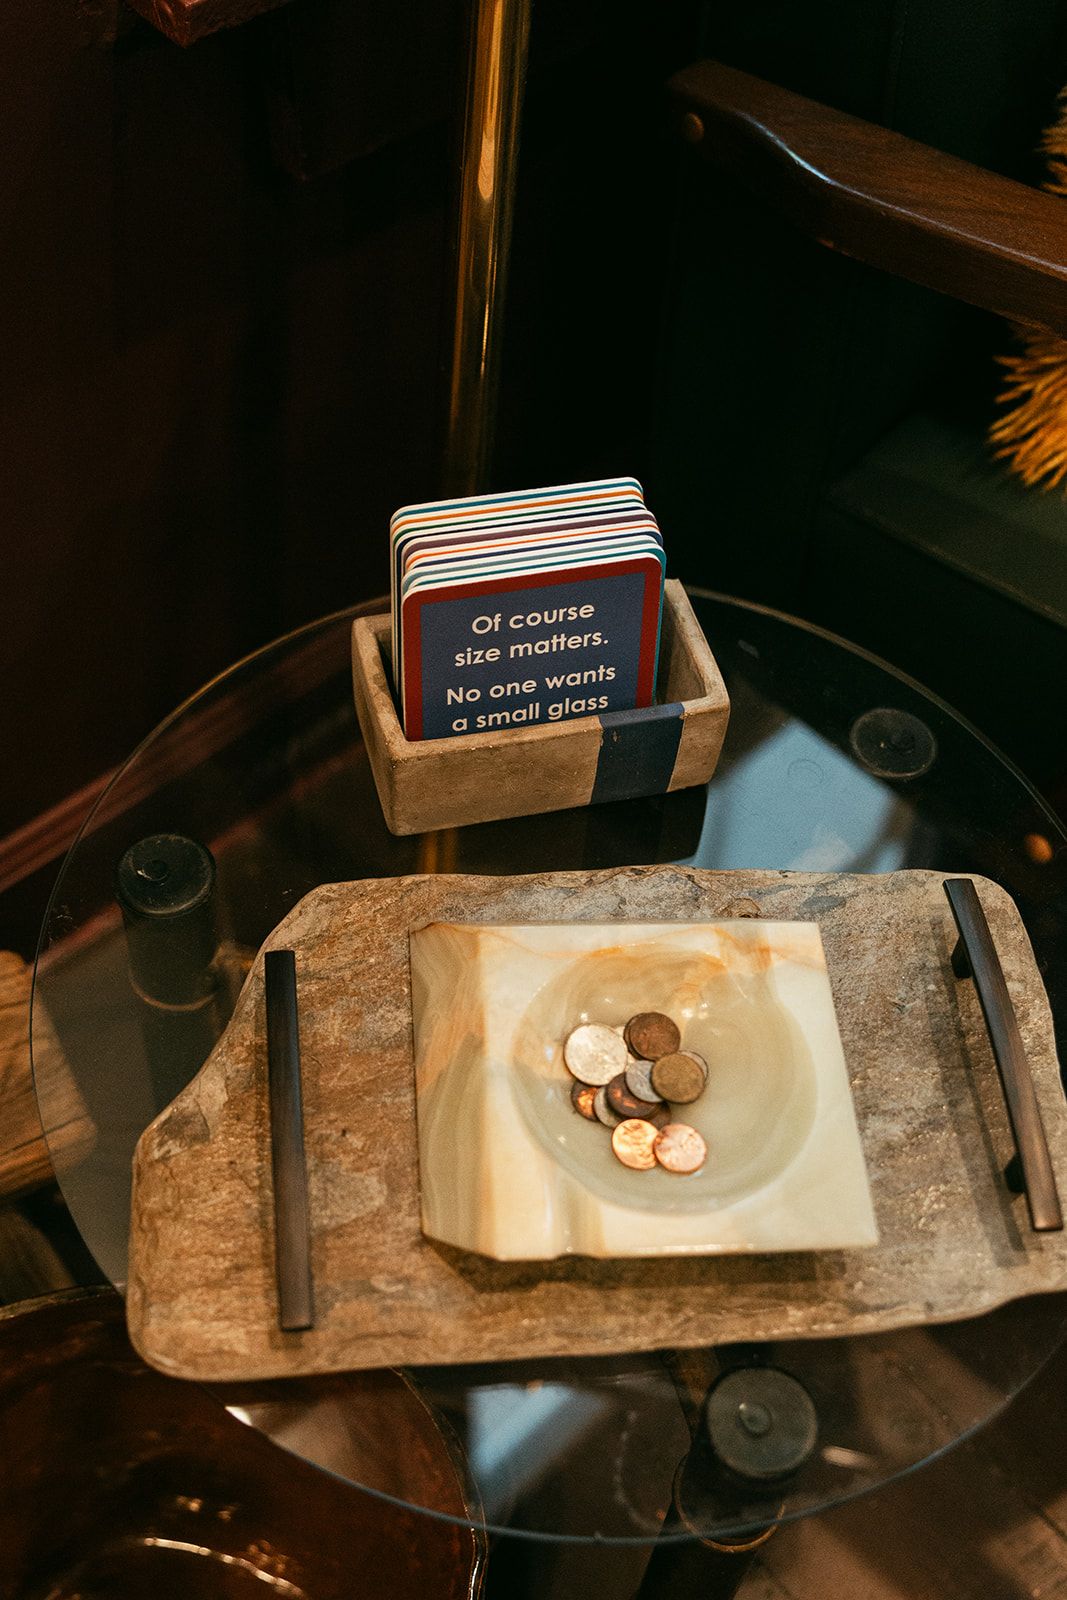
Make a master list once and reuse it for every class. Group it by station: per seat, demo, check-in, food, cleanup. Pack in labeled bins in that same order so setup becomes a routine, not a scramble. A rolling cart or a folding wagon saves a lot of trips from the car to the table.
Order with a buffer
Order supplies with a 10 percent buffer for mistakes and walk-ins, and bring extra blades, brushes or pens. Running short in the middle of a class is the fastest way to lose the room. Order online two to three weeks out so shipping delays do not matter, and buy perishables like flowers or food the day before.
- Count per seat, then multiply by seats plus 10 percent.
- Add two full spare kits for walk-ins or a ruined piece.
- Test every tool once: dry markers and dull blades ruin a demo.
- Label each tray so nothing goes home in the wrong bag.
Protect the room
You are a guest in someone's space, so cover what you touch. Lay kraft paper or a plastic-backed drop cloth on every table, put a mat under anything wet, and keep water cups away from art and upholstery. Plan where wet pieces will dry and where trash goes before the first student sits down.
- Kraft paper rolls are cheap and easy to tape down.
- Plastic-backed drop cloths stop spills that soak through paper.
- Silicone mats work well under clay, resin and wax.
- Keep a spill kit: towels, a spray bottle and a small trash bag.
Check-in and flow
- Put a check-in table near the door with name tags and the sign in list.
- Have the photo consent form on the same clipboard.
- Point people to the restroom, drinks and their seat.
- Start 5 minutes after the posted time, never 15.
Walk the path a student takes from the door to their seat. If they have to cross the demo area or squeeze past the drinks, move something. A clear path keeps the first five minutes calm and gets you started on time.
Food and drinks
Keep drinks simple and alcohol-free. Sparkling water, iced tea, agua fresca and coffee work for nearly every crowd, and they keep supplies and hands clean. For longer days, bring in a caterer or food truck. Put food on a separate table from supplies so paint never meets a snack.
| Class length | What to plan |
|---|---|
| Up to 2 hours | Water and a light snack |
| 3 hours | Drinks plus a snack at the break |
| Half day or more | A real meal from a caterer or food truck |
Accessibility and comfort
- Ask on the ticket page about allergies and access needs.
- Leave a few seats with easy in and out.
- Offer a standing option for long hands-on work.
- Keep a fan or a sweater nearby; rooms run warm when full.
Tip: Brief your photographer on three shots. The full room working, close-ups of hands and materials, and each student with their finished piece. Those photos sell your next class.
Large print step cards help everyone, not only students with low vision. Offer a left handed tool or two if your craft uses scissors or knives, and keep the demo at seated eye level so nobody has to stand to see.
Cleanup and take-home
Pack a box for finished pieces that need to dry, and set it near the door so nothing gets left behind. Bring bags or small boxes for take-home work, and leave 15 minutes at the end of your booking to wipe tables, bag trash and reset furniture. A few minutes of planning here saves a lot of mixed-up projects at the end.
Previous: Planning and filling seats · Course overview · Next: The class itself